Historically, we have used static IP addressing for printers and other devices at UVU. While this method works and has been utilized for a long time, it also adds a lot of extra steps that can be cut down by using DHCP Fixed addresses instead. For the purposes of simplifying the process, increasing security, and standardizing our network design, DHCP Fixed addresses will be used going forward. This document describes how this process works and what to expect.
-
Most devices come with DHCP enabled by default. If you are installing a new printer, simply plug it into the network and record the IP that it pulls automatically. DO NOT change the network settings to manual.
-
Alternatively, if you are modifying an existing printer then change the network settings on the printer from manual to DHCP and record the IP it pulls automatically.
-
-
Gather the MAC address for the printer.
-
Provide the IP the device pulled and the MAC here https://uvu-it.atlassian.net/servicedesk/customer/portal/31/group/115/create/942
-
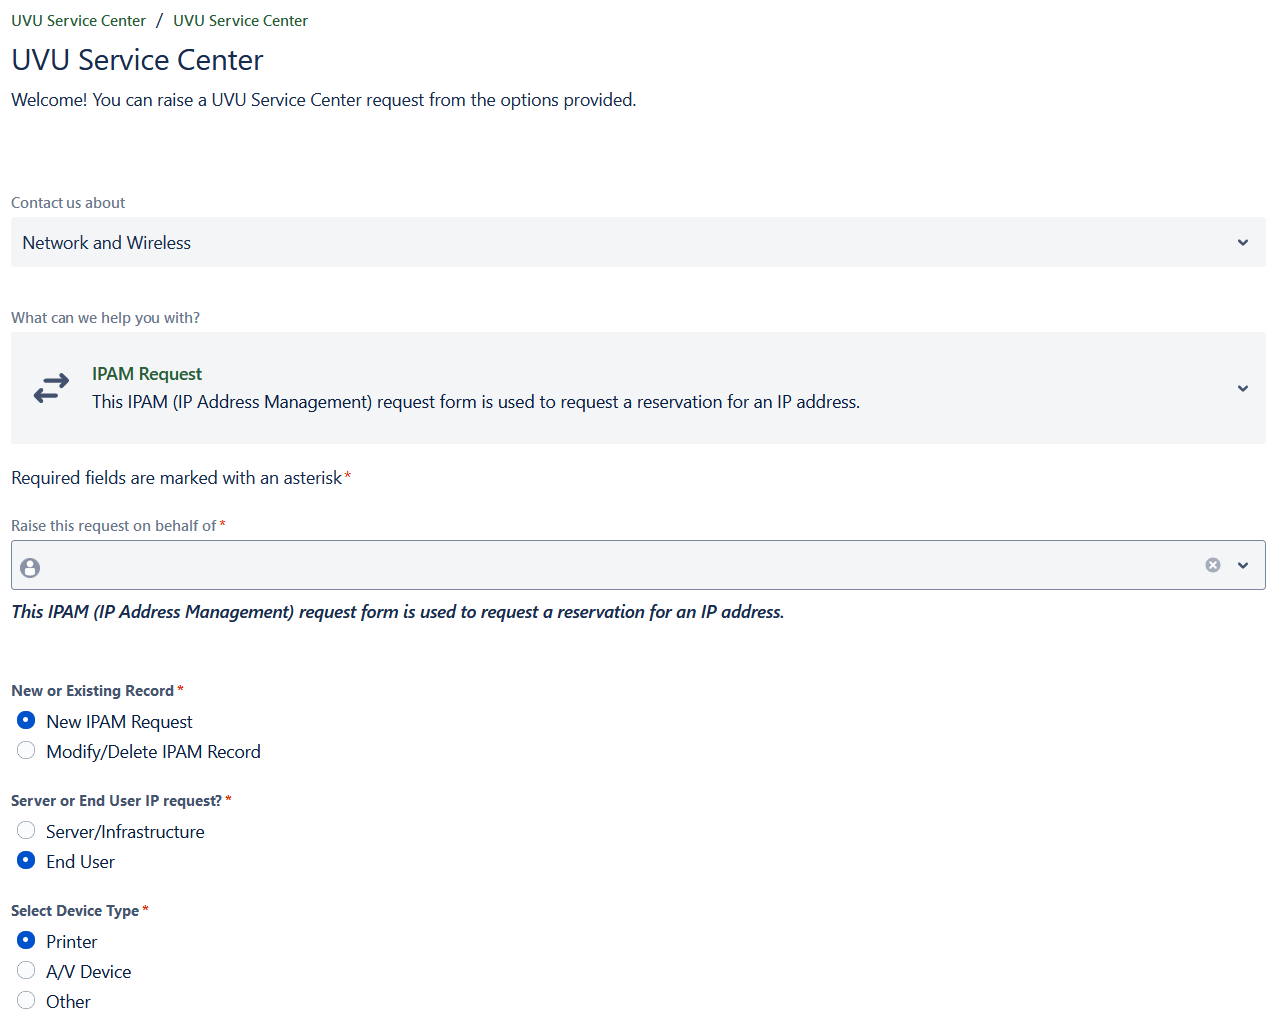
Select “IPAM Request” under “What can we help you with?”
-
Select “New IPAM Request” under the “New or Existing Record” field, “End User” under the “Server or End User IP Request?” field, and “Printer” under the “Select Device Type” field. Refer to the screenshot below.
-
Alternatively if you are modifying an existing printer select “Modify/Delete IPAM Record,” then provide the information requested. Additionally, provide the printer MAC address and new IP pulled via DHCP under the “What needs to be modified?” field.
-
-
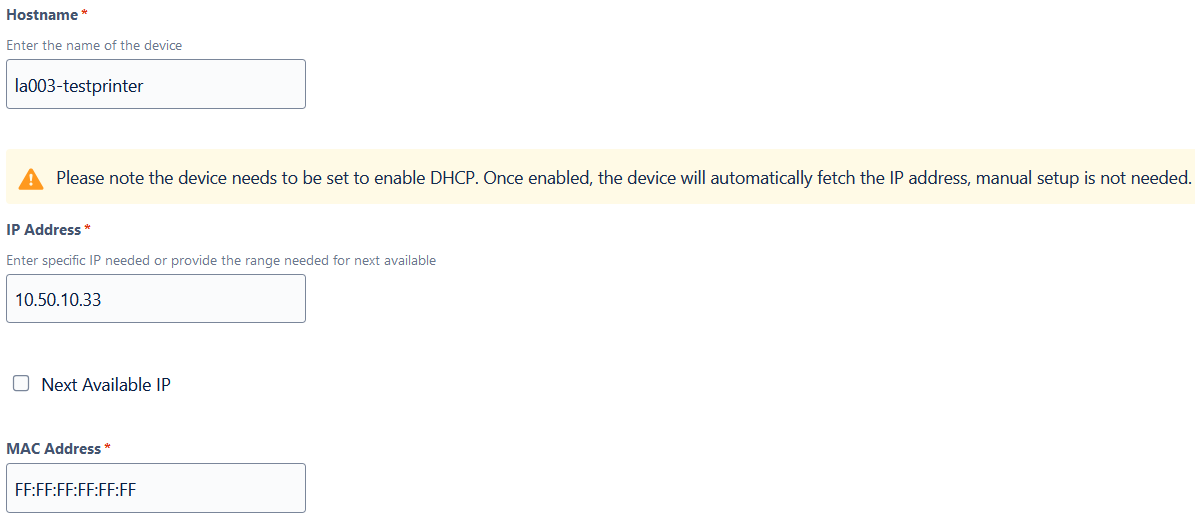
Provide the host name you would like set for the printer, the IP automatically pulled from earlier, and the MAC address for the printer under the respective fields. Refer to the screenshot below.