
How to Request Access and Connect to CampusVPN
Published Date:
Description
This article will walk you through step by step on how to gain/request access and connect to CampusVPN. You will need a myUVU account to gain VPN access.
Once you have accepted the VPN agreement and received access to the VPN, you will need to download and install the Cisco AnyConnect Client to your device by following this how-to guide: How to Install the Cisco AnyConnect Client
Solution
Request Access and Connect to CampusVPN
After you have requested and received access to the VPN you will need to download and install the Cisco AnyConnect Client to your device before proceeding. Please follow this guide to download and install the VPN client: How to Install the Cisco AnyConnect Client
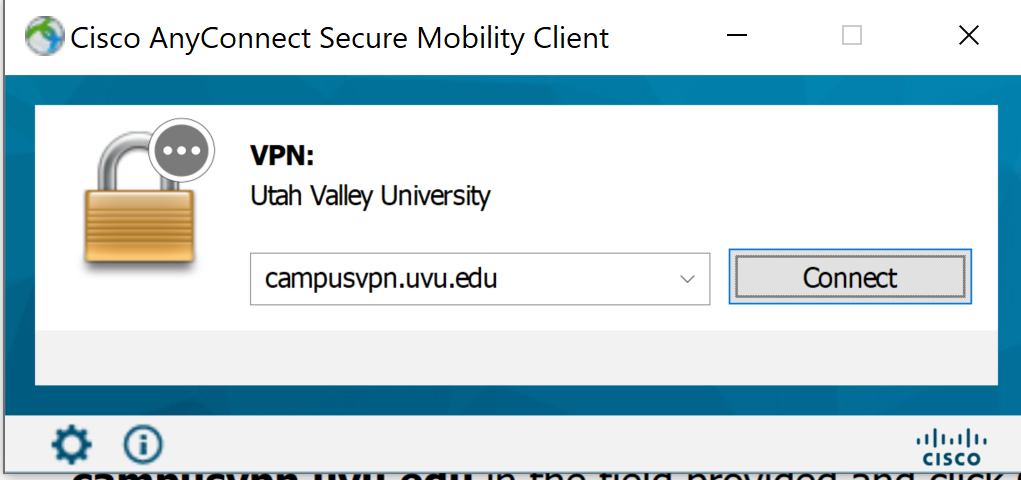
On your device, launch Cisco AnyConnect.
Type campusvpn.uvu.edu in the textbox.
A window will pop up. Log in with your UVUID and password.
Related Articles
Contact Support
If you cannot resolve your issue using the provided solution, please contact the Service Desk.