
How to Set Up an Auto-Reply Message in Outlook
Published Date:
Description
An auto-reply message is a standard automatic response sent from your email any time that an email is sent to you. Auto-reply messages can be helpful when users are out of office for a vacation, conference, etc.
Solution
Set Up an Auto-Reply Message for Outlook
While the Outlook application is open, click the Tools menu, then click the Automatic Replies... menu item.
In the Autoreply Settings dialog box, enter your automatic reply message in the Reply once to each sender with: text box.

Check the Send automatic replies for account... checkbox.
If desired, set a time range for automatic replies to start and end.
If desired, enter a message in the Reply once to each external sender with: text box to send auto-reply messages to everyone who emails you.
You may customize who will receive the auto-reply message with the two radio buttons above the text box.
Click the OK button to save the automatic reply. If a time range is not set, the automatic reply messages will begin sending immediately.
While signed into Outlook Online (https://outlook.office365.com/), click the Settings cog icon located in the top right side of the webpage.
In the pop-out pane that appears, click the View all Outlook settings button.
Click the Automatic replies tab.
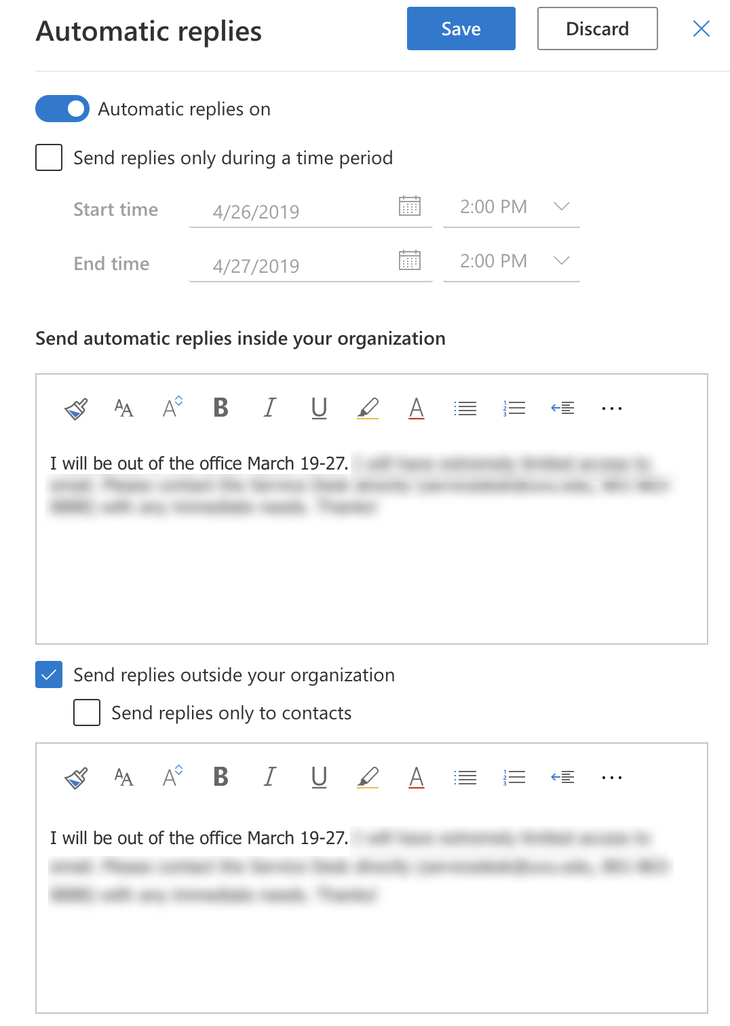
Click the Automatic replies on slider.
If desired, set a time range for automatic replies to start and end.
Enter the auto-reply message in the Send automatic replies inside your organization text box.
If desired, enter a message in the Sent replies outside your organization text box to send auto-reply messages to everyone who emails you.
You may customize who will receive the auto-reply message with the checkboxes above the text box.
Click the OK button to save the automatic reply. If a time range is not set, the automatic reply messages will begin sending immediately.
Related Articles
- How to Disable Auto-Generated Teams Meeting Links in Outlook
- How to Set Up the Microsoft Authenticator App
- How to Send an Outgoing (Internet) Message with Encryption
- How to Set Up an Auto-Reply Message in Outlook
- How to Cancel or Reschedule Outlook Meetings Organized by Someone Else
- How to Set Up Meeting Invites in Outlook
Contact Support
If you could not resolve your issue using the provided solution, please contact the Service Desk.